It's time for another chapter of Eden's Room. A couple of weeks ago, Josh and I made a calendar from May-September so that we could plan out each of the things on our to-do list for her nursery. I would like to say we have months to get her room done, but unfortunately due to the fact that Josh and I only have Saturday's together and every weekend in July is filled with events, well we only had June to really get it done. Oh and if you are wondering, the reason August is not in the equation is because I have a compulsive disorder when it comes to planning, I wanted her room to be done AT LEAST a month in advance. Josh wants it to be done early so he doesn't have to take care of me when I have a nervous breakdown. The good news is, since we do not have air conditioning in our house, having her room done before the real heat hits is going to be so nice. Plus I have plenty of other projects in mind in preparation for her arrival so it will give me plenty of time to get it all done.
With last weekend being a three day weekend for us, we were set on getting a lot done. One of our big projects was installing crown molding and painting all of our trim. The task seemed easy in theory, but let me be the first to say it was the hardest work we had done in awhile. Our trim was oil based (that's all they really used 80 years ago) and without checking we were assuming it was also lead paint. Both of these pose just a bit of a problem, especially for child bearing folks like myself. So how did we make lead based oil paint disappear without causing any health issues for our future love child? Just takes an extra step...really!
In order to paint the No VOC, low odor latex paint that we had chosen for our nursery we had to prime over the yellowed oil based trim paint. To do this we picked up the Zero VOC, low odor Kilz water based primer at Home Depot. Now, ordinarily you would want to lightly sand the oil based paint before priming, however due to our lead concerns we skipped this step and just used the primer right over the oil paint. I should say Josh also went through with mineral spirits and wiped down all the trim to clean it up beforehand.
Once the trim was all primed, we then took the Sherwin Williams Harmony stock paint in semi-gloss (Harmony is also No VOC and low odor) and painted over all the surfaces. We swear by using the stock paint, it is such a perfectly bright white and really freshens up a room!
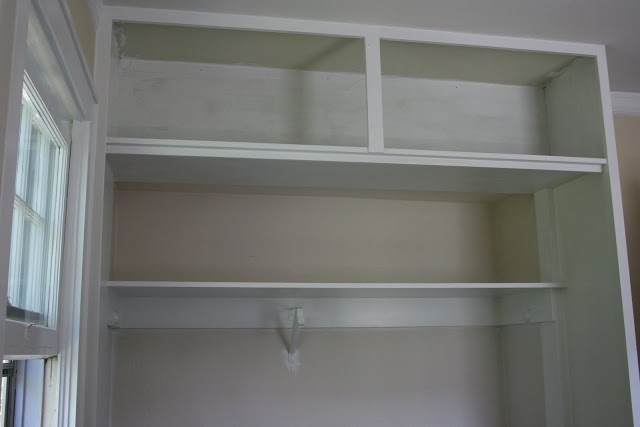
The closet all primed and painted
Once all the surfaces had been primed and painted we were ready to put up the crown molding. My dad actually joined us for this part of the project and helped to get all the pieces cut at a 45 degree angle. Having 80 year old walls and ceilings meant not so perfect lines, but nothing a little caulk couldn't fix. Once again, the change was so refreshing. What was up before was not actually crown molding, was very thin, and did not meet up with the ceiling. The new crown molding was much thicker, was flush with the ceiling, and matched the era of the house much more than the previous one. Don't believe me? Look at the difference below.
Old Crown Molding
New Crown Molding
I have a photo of a before and after of the trim, but you will have to wait to see it because it gives away this weeks project. Let me tell you, this week's project was BIG. Well, big in the fact that it absolutely made the room. More about that later...
**For all of you on pregnancy safety watch, I do wear a respirator mask while painting and again we do use all zero VOC and low odor paint. Trust me, Eden is quite safe during the whole process!


No comments:
Post a Comment