Hmmm...I hope the title of this post doesn't garner strange bits of conversation. I thought it was funny, but now I have placed the words to a certain Ricky Martin song and I am feeling like it is quickly becoming inappropriate. Typical. Anyway...
All of the decor came from inspiration I found all over the web. However, most of it came from my love, Pinterest. Honestly I don't know what I would have done without it in this situation. I had already 'pinned' some ideas for parties (without a specific one in mind) and thankfully they worked out for this particular party. It was pretty great. Other ideas just came off the top of my head (or Josh's in some cases) and we just worked with what we had or could find easily.
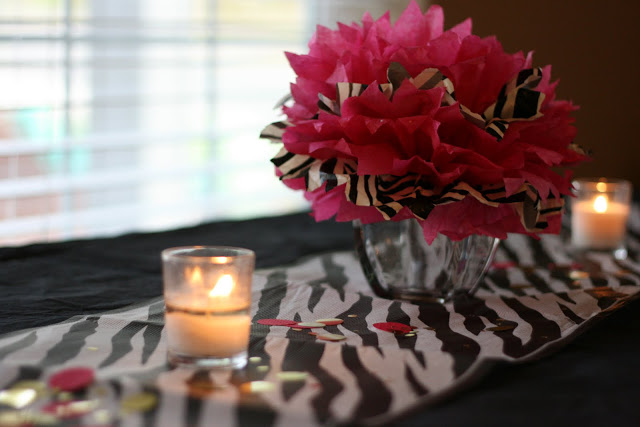
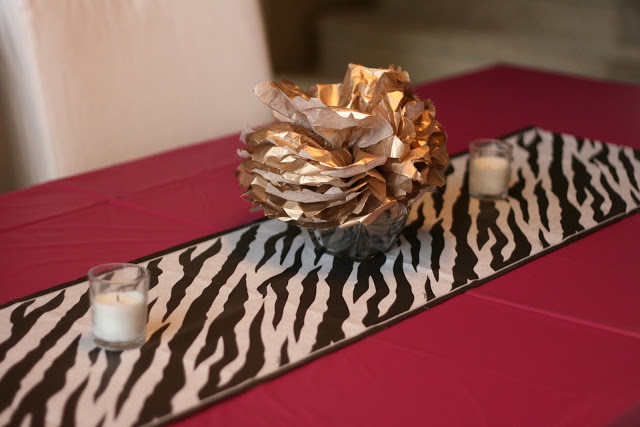
The pom poms. I am starting with these because they have had their day of fame and then some. Martha did right on this craft because they are easy (once you get the hang of it) and look great. Oh and the best part? They are super inexpensive. Now, we have all seen these in every color of the rainbow, but I thought it would be fun to mix it up a bit. I knew I wanted something smaller to use as a centerpiece, but I also wanted it to have a bit of pizazz. So, I went through my collection of tissue paper (seriously am I the only one who has BOXES of this stuff lying around the house?) and picked out different shades of pink, some that had sparkles on it, and I even found some zebra print paper to tie in with the theme. The gold tissue paper was not one I had on hand, I did buy it, but I think it was probably about 50 cents for the pack so it definitely wouldn't break the bank if you were doing a party on a budget. I used this tutorial to put them together, but I am also going to add a few comments as well.
Hanging Pom-Poms
2. Fold an 18-inch piece of floral wire in half (9 inch if making the smaller version), and slip over center of folded tissue; twist. With scissors, trim ends of tissue into rounded or pointy shapes (I prefer the point version in case you were curious).
3. Separate layers, pulling away from center one at a time.
4. Tie a length of monofilament to floral wire for hanging (I didn't do this step because I didn't want to hang them, of course you are welcome to do this step if you do choose to hang them).
Read more at Marthastewartweddings.com: Pom-Poms and Luminarias How-To
Oh and if you are thinking that the tissue pom-pom's look familiar, we also used them at our gender reveal housewarming party (thank you again Maggie for making these for us!)
Back to the centerpieces. So, to give the pom's a bit of height since they were the stars of the show on the table, I placed them on top of square votive holders that we had leftover from our wedding (we have like a gazillion so I use them for EVERYTHING). We bought out WalMart's entire stock. Seriously. Josh and I would go to two different ones in Salem (and we even ventured to others in various cities) and would pile the cart high with all of the ones they had. We did this at least six different times. Yep, we were THOSE people.
To finish off the centerpiece I just threw on a couple of votives that we had leftover from when Josh proposed to me (duh, obviously it was to me) and then threw on some handmade confetti.
How did I make the confetti you ask?
Simple.
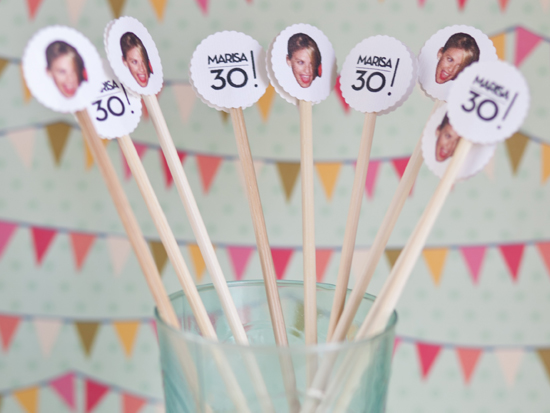
I picked out a couple of sheets of scrapbook paper at Michael's, borrowed a circle craft punch (thanks Jessie!), and punched away. I also had wanted to make confetti from black and white photos of Ruby. I actually tried, but it turned out horrible I ran out of time. Seriously though, if you are throwing a party for someone, you should definitely do this...just don't try to do it at the last second before the party and definitely use heavy weight paper. Trust me. Here's a photo of photo drink sticks, but you could easily adapt this into confetti.
via Sugar and Charm
Cute right? And so very perfect for a party celebrating the life of someone special.
Alright, I don't want to overwhelm you all in one day with craftiness so I will bid you adieu for the night. More to come!


No comments:
Post a Comment